Deploying to Railway

Railway is a managed hosting platform which allows you to deploy and scale your Vendure server and infrastructure with ease.
This guide should be runnable on the Railway free trial plan, which means you can deploy it for free and thereafter pay only for the resources you use, which should be around $5 per month.
Prerequisites
First of all you'll need to create a new Railway account (click "login" on the website and enter your email address) if you don't already have one.
You'll also need a GitHub account and you'll need to have your Vendure project hosted there.
In order to use the Railway trial plan, you'll need to connect your GitHub account to Railway via the Railway dashboard.
If you'd like to quickly get started with a ready-made Vendure project which includes sample data, you can clone our Vendure one-click-deploy repo.
Configuration
Port
Railway defines the port via the PORT environment variable, so make sure your Vendure Config uses this variable:
import { VendureConfig } from '@vendure/core';

export const config: VendureConfig = {
    apiOptions: {
        port: +(process.env.PORT || 3000),
        // ...
    },
    // ...
};
Database connection
The following is already pre-configured if you are using the one-click-deploy repo.
Make sure your DB connection options uses the following environment variables:
import { VendureConfig } from '@vendure/core';

export const config: VendureConfig = {
    // ...
    dbConnectionOptions: {
        // ...
        database: process.env.DB_NAME,
        host: process.env.DB_HOST,
        port: +process.env.DB_PORT,
        username: process.env.DB_USERNAME,
        password: process.env.DB_PASSWORD,
    },
};
Asset storage
The following is already pre-configured if you are using the one-click-deploy repo.
In this guide we will use the AssetServerPlugin's default local disk storage strategy. Make sure you use the
ASSET_UPLOAD_DIR environment variable to set the path to the directory where the uploaded assets will be stored.
import { VendureConfig } from '@vendure/core';
import { AssetServerPlugin } from '@vendure/asset-server-plugin';

export const config: VendureConfig = {
    // ...
    plugins: [
        AssetServerPlugin.init({
            route: 'assets',
            assetUploadDir: process.env.ASSET_UPLOAD_DIR || path.join(__dirname, '../static/assets'),
        }),
    ],
    // ...
};
Create a new Railway project
From the Railway dashboard, click "New Project" and select "Empty Project". You'll be taken to a screen where you can add the first service to your project.
Create the database
Click the "Add a Service" button and select "database". Choose a database that matches the one you are using in your Vendure project. If you are following along using the one-click-deploy repo, then choose "Postgres".
Create the Vendure server
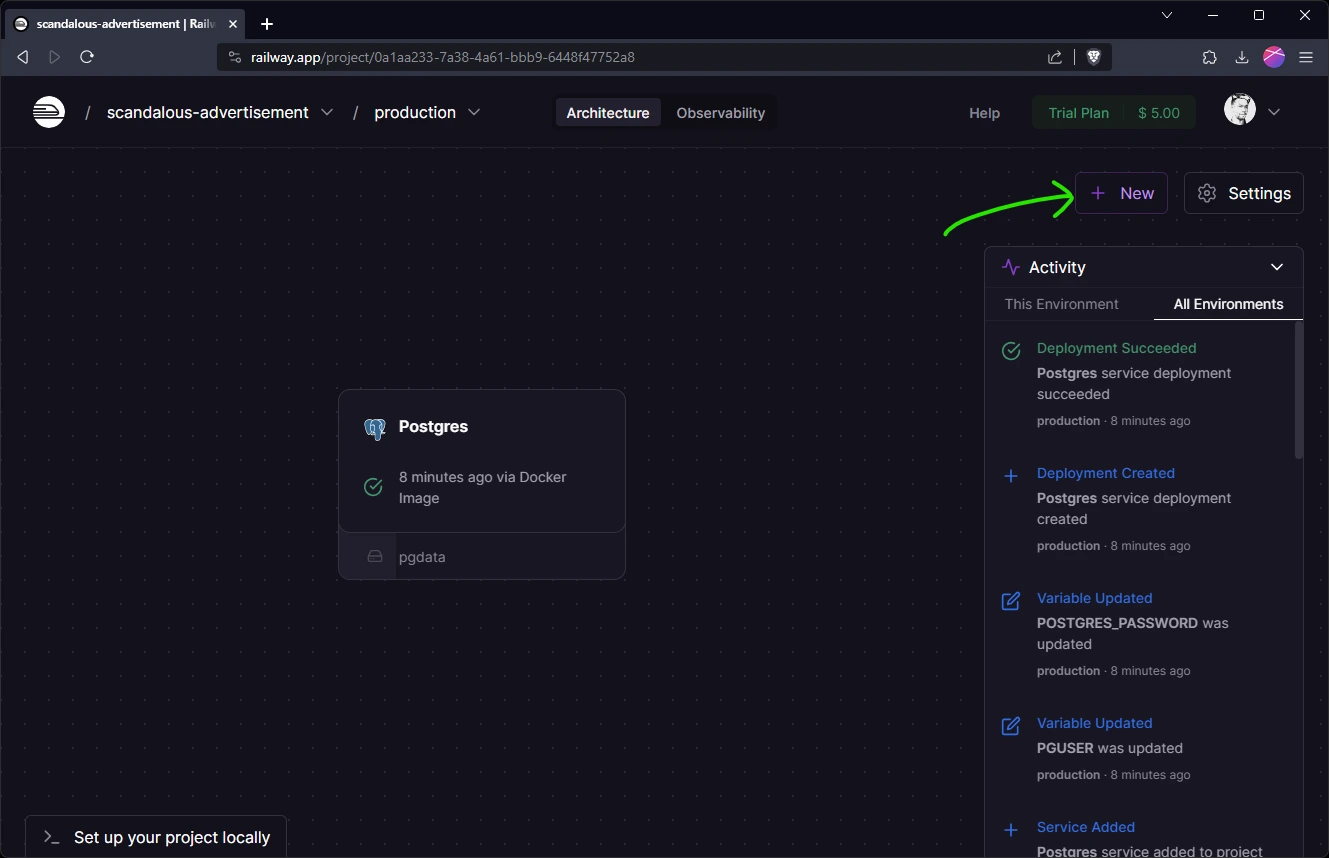
Click the "new" button to create a new service, and select "GitHub repo". Select the repository which contains your Vendure project. You may need to configure access to this repo if you haven't already done so.

Configure the server service
You should then see a card representing this service in the main area of the dashboard. Click the card and go to the "settings" tab.
- Scroll to the "Service" section and rename the service to "vendure-server".
- Check the "Build" section and make sure the build settings make sense for your repo. If you are using the one-click-deploy repo, then it should detect the Dockerfile.
- In the "Deploy" section, set the "Custom start command" to
node ./dist/index.js. - Finally, scroll up to the "Networking" section and click "Generate domain" to set up a temporary domain for your Vendure server.
Create a Volume
In order to persist the uploaded product images, we need to create a volume. Click the "new" button and select "Volume".
Attach it to the "vendure-server" service and set the mount path to /vendure-assets.
Configure server env vars
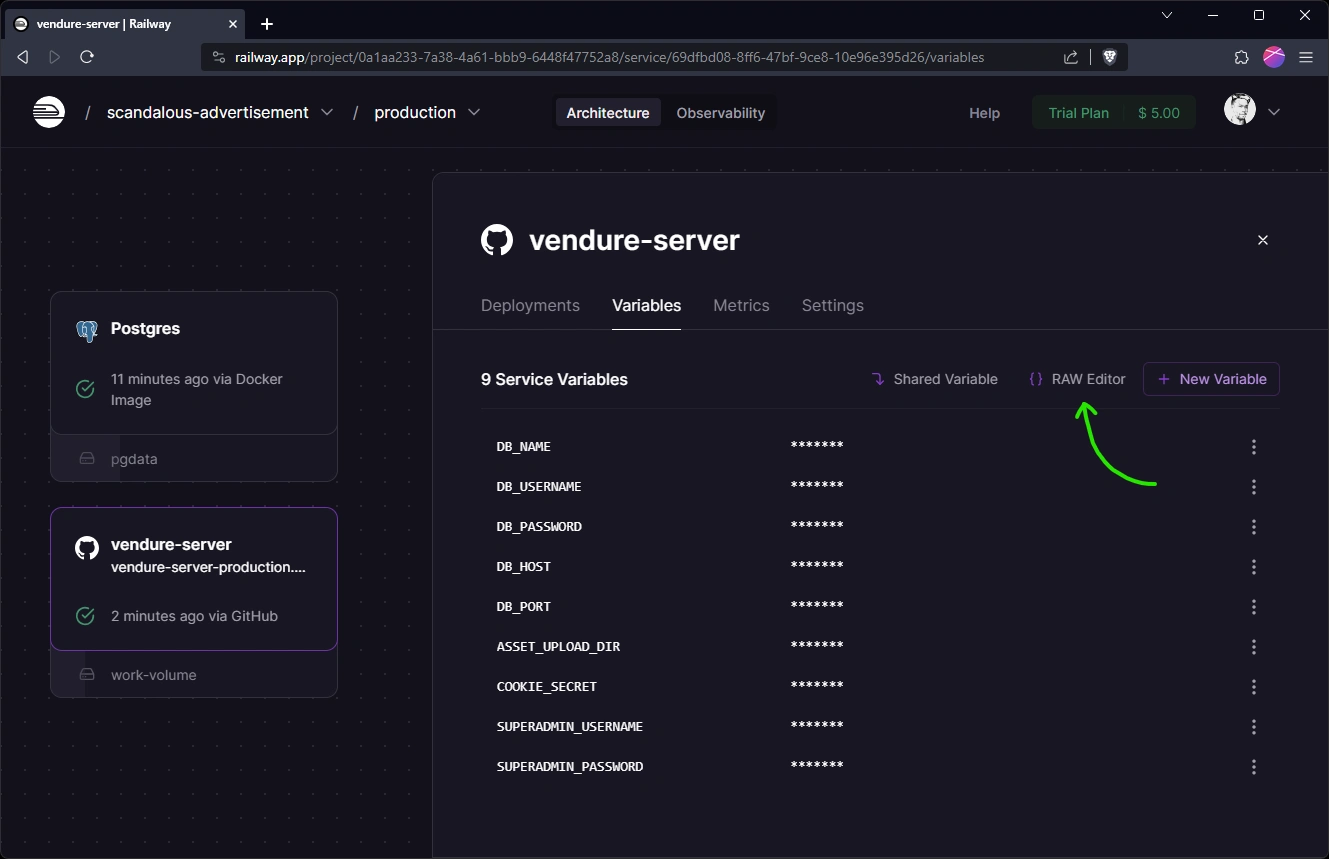
Click on the "vendure-server" service and go to the "Variables" tab. This is where we will set up the environment variables which are used in our Vendure Config. You can use the raw editor to add the following variables, making sure to replace the highlighted values with your own:
DB_NAME=${{Postgres.PGDATABASE}}
DB_USERNAME=${{Postgres.PGUSER}}
DB_PASSWORD=${{Postgres.PGPASSWORD}}
DB_HOST=${{Postgres.PGHOST}}
DB_PORT=${{Postgres.PGPORT}}
ASSET_UPLOAD_DIR=/vendure-assets
COOKIE_SECRET=<add some random characters>
SUPERADMIN_USERNAME=superadmin
SUPERADMIN_PASSWORD=<create some strong password>

The variables starting with ${{Postgres...}} assume that your database service is called "Postgres". If you have
named it differently, then you'll need to change these variables accordingly.
Create the Vendure worker
Finally, we need to define the worker process which will run the background tasks. Click the "new" button and select "GitHub repo". Select again the repository which contains your Vendure project.
Configure the worker service
You should then see a card representing this service in the main area of the dashboard. Click the card and go to the "settings" tab.
- Scroll to the "Service" section and rename the service to "vendure-worker".
- Check the "Build" section and make sure the build settings make sense for your repo. If you are using the one-click-deploy repo, then it should detect the Dockerfile.
- In the "Deploy" section, set the "Custom start command" to
node ./dist/index-worker.js.
Configure worker env vars
The worker will need to know how to connect to the database, so add the following variables to the "Variables" tab:
DB_NAME=${{Postgres.PGDATABASE}}
DB_USERNAME=${{Postgres.PGUSER}}
DB_PASSWORD=${{Postgres.PGPASSWORD}}
DB_HOST=${{Postgres.PGHOST}}
DB_PORT=${{Postgres.PGPORT}}
Test your Vendure server
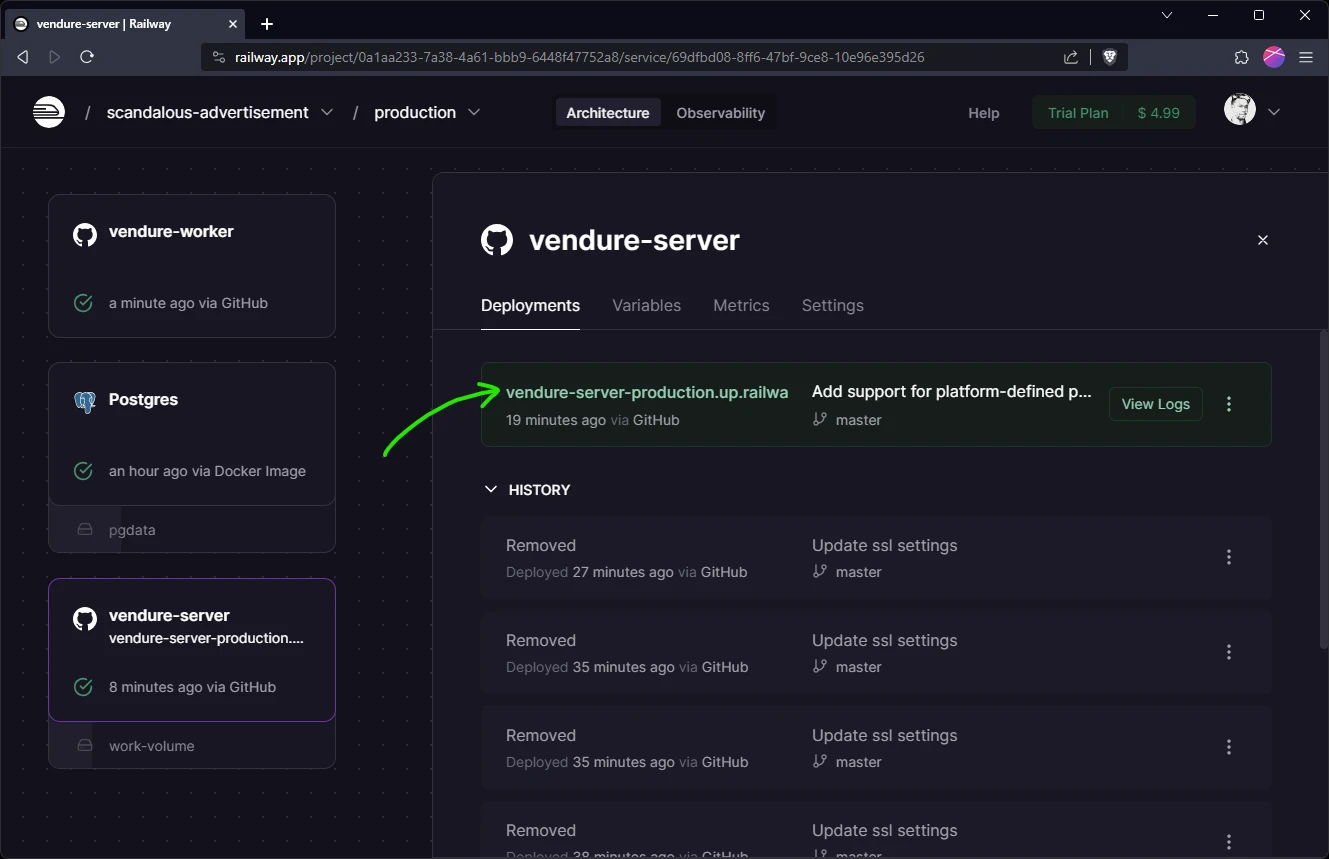
To test that everything is working, click the "vendure-server" card and then the link to the temporary domain.

Next Steps
This setup gives you a basic Vendure server to get started with. When moving to a more production-ready setup, you'll want to consider the following:
- Use MinIO for asset storage. This is a more robust and scalable solution than the local disk storage used here.
- Use Redis to power the job queue and session cache. This is not only more performant, but will enable horizontal scaling of your server and worker instances.